
No products in the cart.
How to Draw and Color
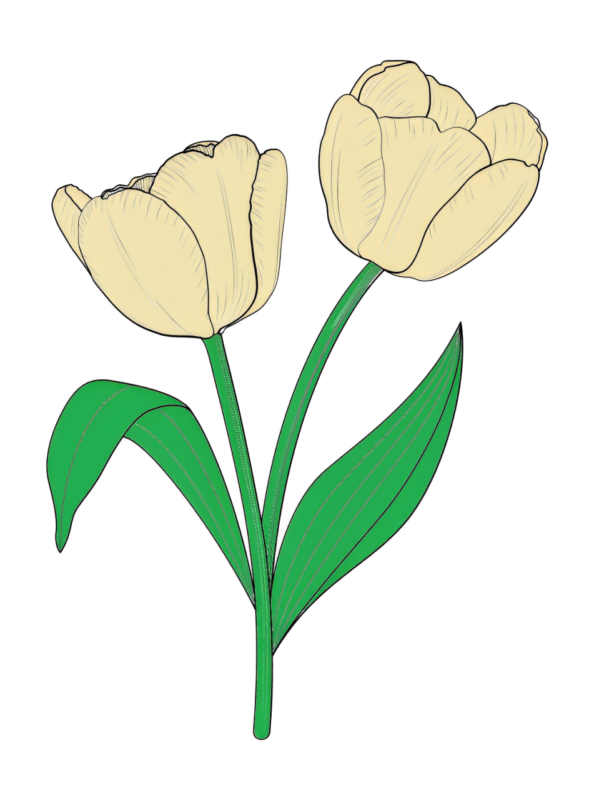
How to Draw a Tulip Step by Step
Draw a Tulip with its elegant shape and vibrant colors. Flowers remain a perennial favorite due to their beauty and versatility. One such flower that captivates artists and enthusiasts alike is the tulip. Today We will guide you how to draw a tulip step by step, suitable for beginners
How to Draw a Tulip Step by Step Guide With Video Tutorial
How to Draw a Tulip Step by Step
Step 1: Basic Outline
Begin with a slightly curved vertical line to represent the tulip’s stem. Next, draw a slightly elongated oval shape at the top of the stem to outline the tulip’s bulb or bud. This oval shape will serve as the foundation for the tulip’s petals.
Step 2: Defining the Petals
Tulip petals typically have a distinctive shape, with a slight curve at the top and a tapered point at the bottom. Using your pencil, sketch the outer contours of the petals around the oval shape you drew earlier. Start with one petal at a time, gradually adding more petals around the bulb to create a symmetrical arrangement.
Step 3: Adding Detail and Texture
It’s time to add detail and texture to bring your drawing to life. Begin by refining the outlines of the petals, paying attention to subtle curves and angles. Next, add vein-like lines running along the length of each petal to mimic the natural texture of a tulip. These lines can be soft and gentle, radiating from the base of the petal towards the tip.
Step 4: Shading
To create depth and dimension in your drawing, incorporate shading and shadowing techniques. Use a softer pencil to lightly shade the areas of the tulip that would be in shadow, such as the underside of the petals and the base of the bulb. Gradually build up the shading, blending it gently with your finger or a blending stump for a smooth transition between light and shadow.
Step 5: Final Touches and Detailing
Look for any areas that may need additional refinement or detailing. Add any final touches, such as highlights on the edges of the petals to create contrast and depth. If desired, you can also use colored pencils or markers to add vibrant hues to your tulip, making it truly stand out on the page.
Step 6: Color a Tulip
Select a variety of colors that mimic the vibrant hues found in tulips. Typically, tulips come in shades of red, pink, yellow, orange, purple, and white. You can also mix and blend colors to achieve unique variations. Color the stem and leaves of the tulip using shades of green. Start with a base layer of light green and gradually add darker shades to create depth and texture. By following these steps and allowing your creativity to flow, you can create a beautifully colored tulip.
Your a Tulip is Completed!
Drawing a tulip may seem daunting at first, but with patience and practice, anyone can master this beautiful flower. By following these six simple steps and allowing your creativity to flourish, you can create stunning tulip drawings that capture the essence of this beloved bloom. So pick up your pencil, Visit Tulip Coloring Pages and embrace the challenge, and let your creativity blossom!