No products in the cart.
How to Draw and Color
How to Draw a Kite Step by Step
Drawing kite, with their vibrant colors and graceful movements against the backdrop of the sky, kites evoke a sense of joy and freedom. How to Draw a Kite Step by Step? We will guide delve into the intricacies of drawing a kite in just five simple steps, catering to both beginners and seasoned artists alike.
How to Draw a Kite Step by Step Guide With Video Tutorial
How to Draw a Kite Step by Step Guide

Step 1: Sketching the Framework
To initiate the process, start by sketching a simple framework. Begin with a straight vertical line, which will serve as the kite’s spine. Next, draw a horizontal line intersecting the vertical line slightly above its midpoint. This horizontal line will define the width of the kite. You now have a basic framework to work with, resembling the shape of a diamond.
Step 2: Defining the Shape
Using the vertical line as a guide, draw diagonal lines extending outward from each end of the horizontal line. These lines will converge at the top and bottom of the vertical line, forming the pointed ends of the kite. Ensure that the angles of these lines are symmetrical to maintain a balanced appearance. Once the outline is complete, erase any overlapping lines from the initial framework, leaving behind a clean, defined shape.
Step 3: Adding Detail and Dimension
Begin by sketching a smaller diamond shape within the larger one, slightly offset towards the top. This inner diamond represents the section where the kite’s frame meets the fabric. Next, draw a series of parallel lines running diagonally across the kite’s surface, mimicking the texture of the fabric. Pay attention to perspective, ensuring that the lines converge towards the vanishing point for a realistic effect.
Step 4: Adding Final Touches and Accents
Consider incorporating additional elements such as a tail trailing behind the kite, clouds drifting in the sky, or a distant landscape to set the scene. Fine-tune any areas that may require refinement, such as sharpening lines, adjusting proportions, or intensifying colors. Pay attention to small details that can make a big difference, such as highlights catching the sunlight or shadows cast by nearby objects.
Step 5: Color a Kite
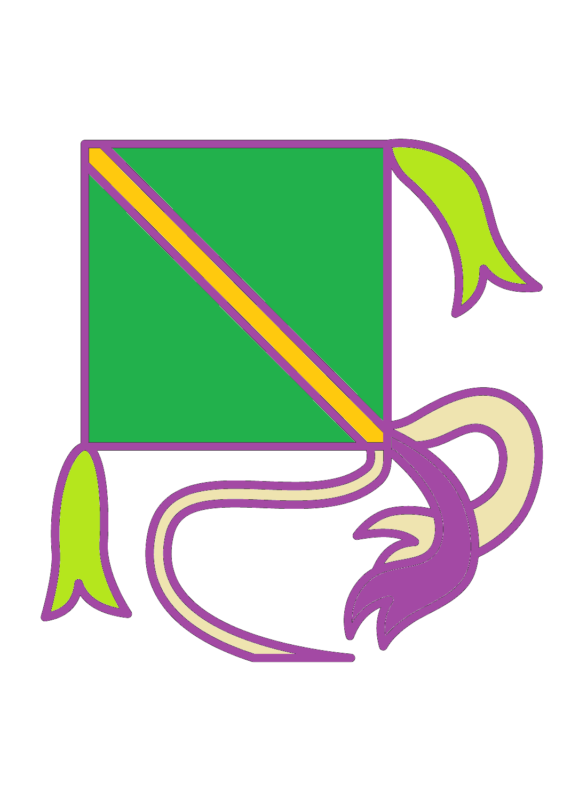
Select vibrant hues that evoke the playful spirit of kite flying, such as shades of blue, green, red, or yellow. Use colored pencils, markers, or paints to fill in the sections of the kite, taking care to stay within the lines and maintain a smooth, even application. Experiment with different color combinations and patterns to customize your kite and make it uniquely yours. Don’t be afraid to let your imagination soar as you breathe life into your creation.
Your a Kite is Completed!
Drawing a kite is not just about capturing its physical appearance. It’s about harnessing the essence of freedom and joy that it represents. By following these five simple steps, you can embark on a creative journey that transcends the confines of paper and pencil. So gather your tools, let your creativity take flight, and revel in the sheer delight of bringing a kite to life on the page. Visit Kite Coloring Pages and start drawing, and let your creativity!
